Remove Items
You can remove items a number of different ways using Pinta:
- Cut: Select Cut under the Edit menu to delete anything in the image that's been selected.
- Delete Key: Enter
Deleteon your keyboard to delete anything that has been selected. - Remove a Layer: Remove a layer to delete all items on the layer.
- Eraser: Select Eraser to erase items from your layer.
Remove items with Cut or Delete
-
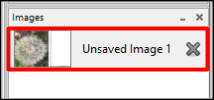
Select the image containing items to be removed under the Images window.
-
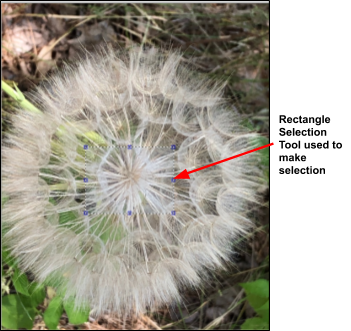
Select part of the image to remove using one of the selection tools.
The following example uses the Rectangle Select to select part of the image:
-
Go to Edit and select Cut. Alternatively, press
Deleteon your keyboard.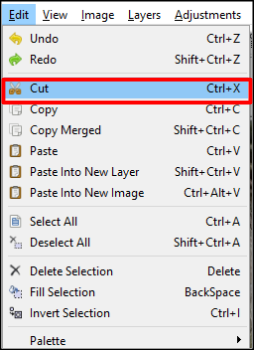
Here's what the example image looks like after selecting Cut or
Delete: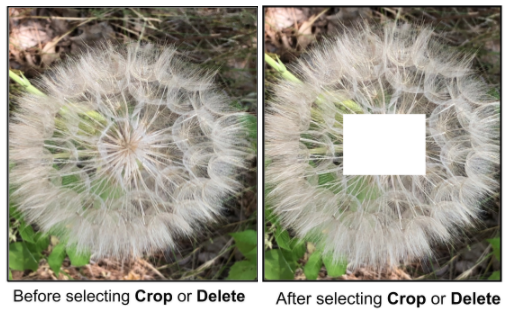
Remove Item by Removing Layer
If you save items on separate layers, you'll only need to remove a layer to remove the items from that layer.
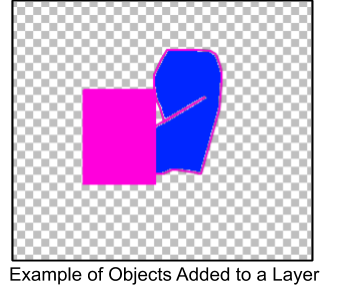
The following shows an example of how this would be done.
-
Create a layer that's blank or import a file to a layer.
-
-
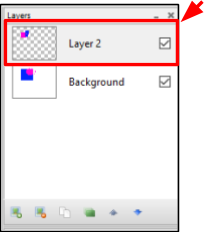
Select the layer in the Layers window (it'll be selected if you just added the objects to the layer).
-
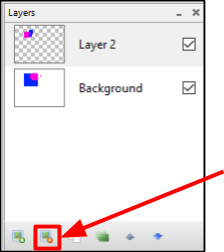
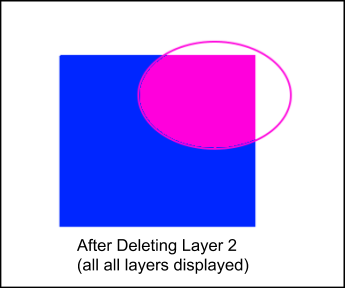
Select Delete Layer from the Layers window.
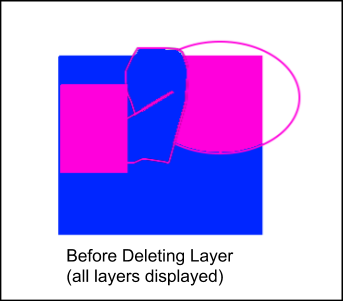
The following shows the result of deleting layer 2 in the example above.
Remove Item With Eraser Tool
The eraser tool is ideal for removing a very small portion of an image or to do a touch up on a photo.
- Select Eraser
 from the Tools menu.
 - Select the desired brush width (1-55) in the Tools Settings Bar.
- Click to erase and drag the Eraser onto the workspace to erase any part of the image, removing the item.