Tutorial
Note
Before we begin, please make sure you have setup and understood your workspace. If you have trouble setting up or understanding how to start, go back to Setting Up Workspace for a quick workspace guide.
In this tutorial, we will learn how to create our first project - a final image. These key ingredients will help us achieve our goal:
- Working with layers.
- Making selections.
- Penciling and painting.
- Working with color.
- Adding text and shapes.
- And utilizing various common tools.
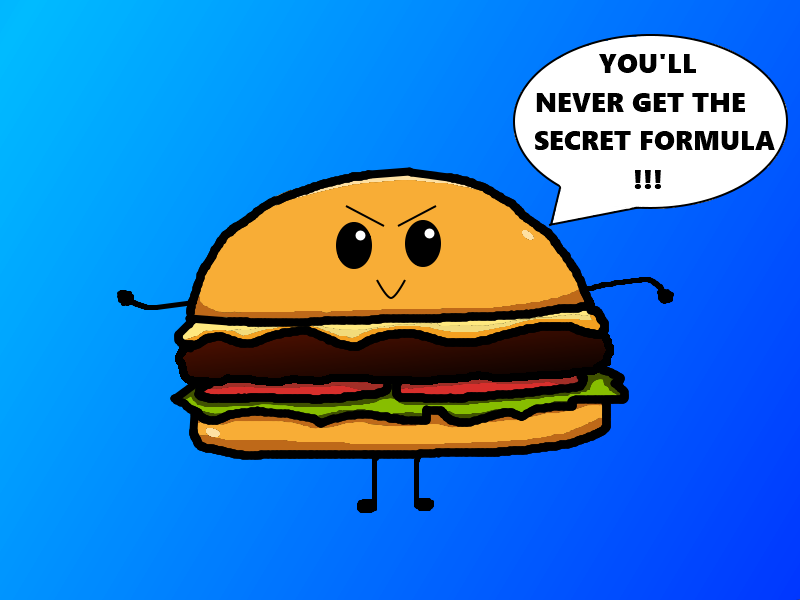
By the end of this tutorial, we will create this little secret burger:
Although this is a tutorial on creating a graphic image, this is not a drawing tutorial so we cannot guarantee if your drawing will look exactly as our image. If you haven't setup your workspace yet, it is highly recommended because this tutorial will assume the workspace has been configured. See Setting Up Workspace to learn more.
To keep the images consistent, we'll be drawing a very basic burger. It should have at least a top bun, a bottom bun, cheese, a patty, tomatoes and lettuce. This tutorial can take at least 2-3 hours to complete for some new users to Pinta. So if you need to rearrange your time, this is the moment. Some may find that by doing this project, they're able to quickly learn the various capabilities Pinta has to offer. Alternatively, if you don't have the time to do this tutorial, you can look up topics of interest in the user manual to suit your specific image editing needs.
Sketching
The tools we'll use for sketching are:
- Pencil
- Eraser
- Lasso Select
- Shapes
- Lines
- Text
Now we can get started on sketching our little secret burger! Using the default canvas layout:
- Select Add Layer
 to add a new layer in the Layers window.
 - Select Layer 2 from the Layers window. Make sure the Background layer is below the new layer (use the up and down arrows
 on the Layers window to rearrange layers if necessary).
 - Double-click the layer to open Layer Properties dialog box and type Sketch for the name of the layer.
- Select OK to close the window.
- Select Sketch to make it an active layer.
- Select Pencil to start sketching your burger.
- Use Eraser to remove any markings not needed.
- Change the eraser size as needed in the Tools Settings Bar.
- Use any Selection tool to move any sketches around. In this case, we used the Lasso Select to move the text box up higher.
- Use Shapes, Lines and Text to help create your sketch if that is your preference.
- You can also upload a hand-drawn sketch as well. Go to Import File into Layer to learn more.
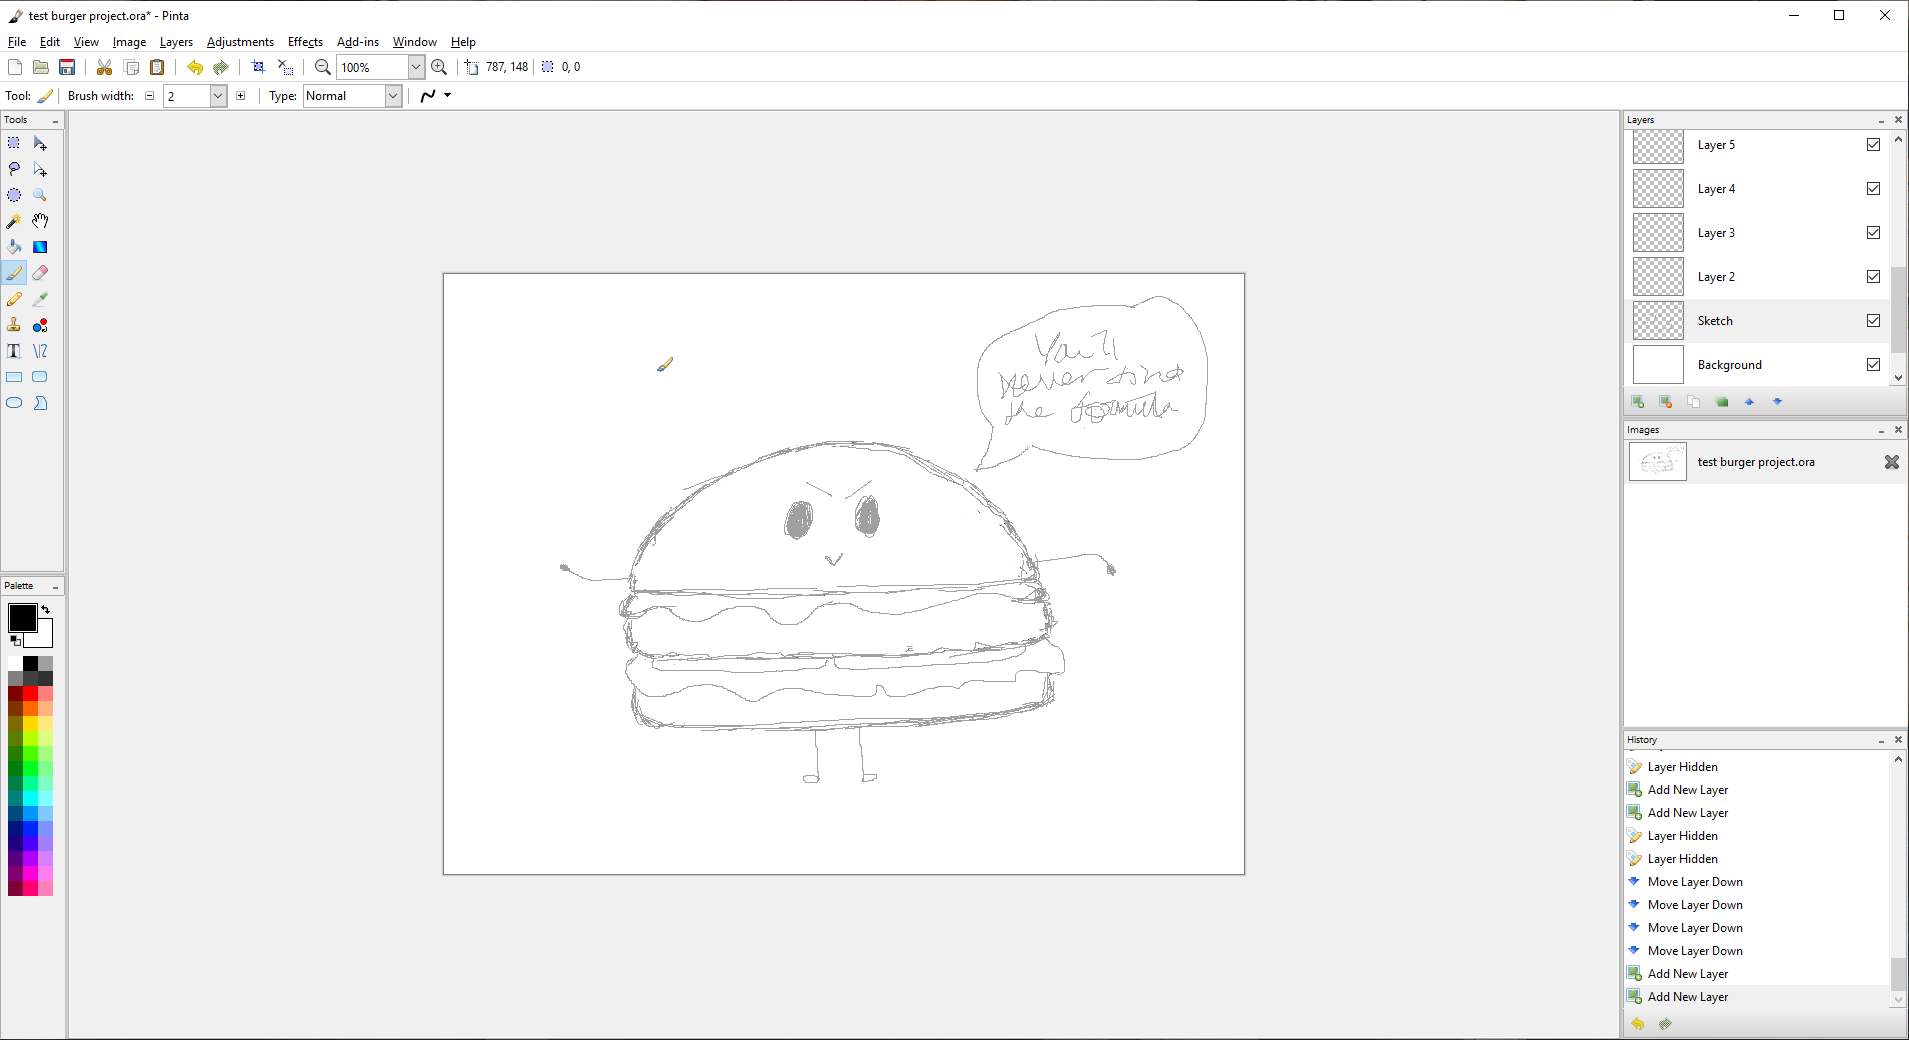
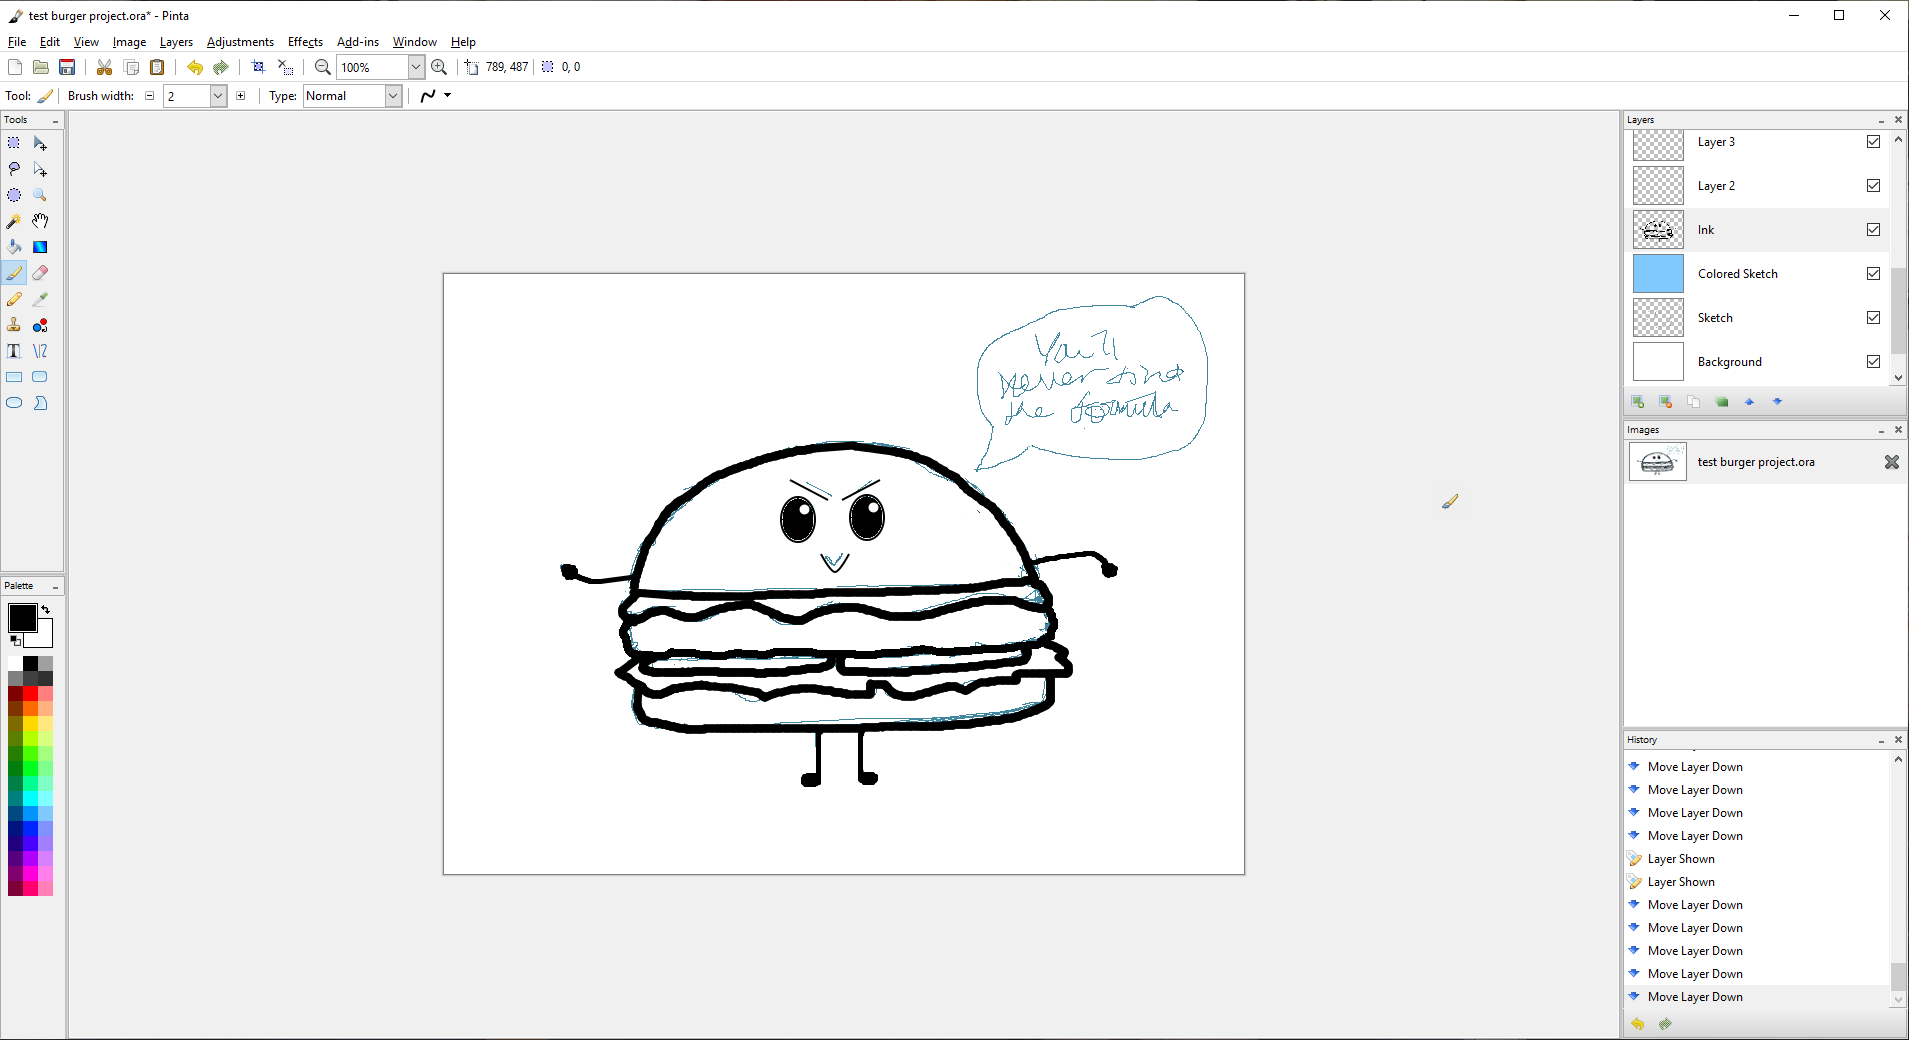
- Go to File > Save As... to save your progress as a project *.ora file and it should look something like this:
Before we move on to inking over the sketch, we want to change the color of the pencil sketch so that it's easier to see between the (black) inking and the (black) sketch itself. Blue would be a nice color to see through, but use whatever color you prefer.
- Create a new layer. Make sure this new layer is above Sketch layer.
- Open Layer Properties dialog box for the new layer and enter Color Sketch in the text box.
- Select Color Burn under the Blend Mode drop-down list and select OK.
- Select Color Burn to make it an active layer.
- Select Paint Bucket tool and choose a Palette color.
- Click on the project to apply the color on the Color Burn layer.
- Save
 your progress and it should look like this:
As you can see from the thumbnail in the Layers window, the Color Burn layer is fully colored in but from the drawing, it only burned in the color onto the pencil sketch itself. This can only work when the layers are stacked accordingly and properties of the layers are modified. Otherwise, the color would just lay on top of the sketch layer, completely covering it in its normal state.
Inking
The tools we'll use for inking are:
- Pencil
- Eraser
- Shapes
- Lines
This part of the process, we'll be inking the rough sketch itself so that all the lines needed are more distinct.
- Create a new layer in the Layers window. Make sure this new layer is above Color Sketch layer.
- Open Layer Properties dialog box for the new layer and enter Ink in the text box.
- Select OK to close the window.
- Select Ink to make it an active layer.
- Select Paintbrush to start inking over your rough sketches.
- Same as with sketching, use Eraser to remove any markings not needed.
- Use Shapes and Lines to help create your objects if needed, but we will skip on the Text tool for a later step.
- Save your progress and it should look something like this:
Coloring
The tools we'll use for coloring are:
- Burger image reference
- Palette
- Color Picker
- Paintbrush
- Eraser
- Gradient
This is now the fun part: coloring! For the purposes of this tutorial, we also added in this burger image for you to download as a color image reference for when we pick colors. Go ahead and right-click on the image to save the image down below:

Bun
Now let's begin with the bun:
- Uncheck the box for Sketch in the Layers window to hide the layer from view. We won't be needing it for this process.
- Create a new layer. Make sure this new layer is below Ink layer.
- Double-click the new layer to open Layer Properties dialog box and under the name type Bun Color.
- Select OK to close the window.
- Select Bun Color to make it an active layer.
- Go to File > Open... and open the saved burger image reference.
- Select Color Picker to pick the bun color from the reference image and switch back to the burger project under the Image window. You can create and modify your own color by double-clicking on the primary or secondary color boxes under Palette.
- Select Paintbrush to color in the entire burger. You can enlarge the size of the Paintbrush in the Tools Settings Bar to speed up the process.
- Select Eraser to clean up any color that doesn't belong.
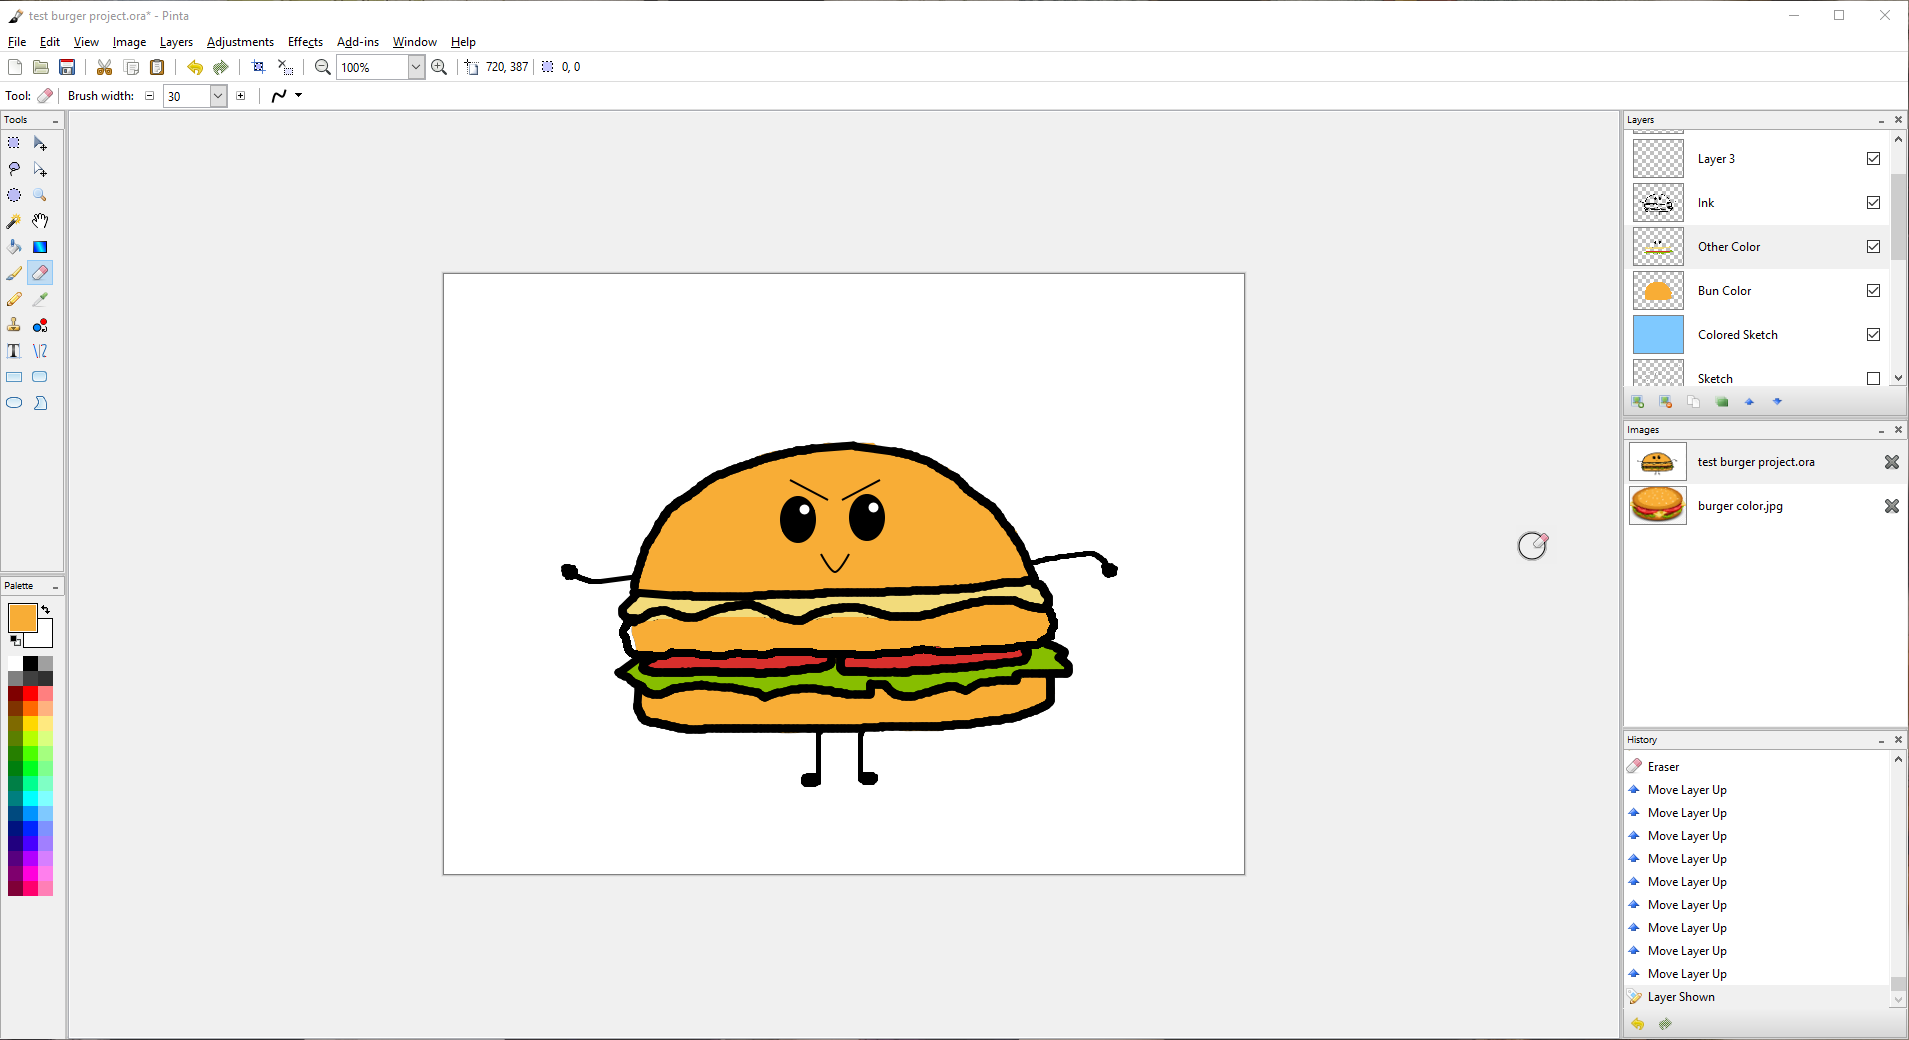
- Save your progress and it should look something like this:
Cheese, Tomatoes & Lettuce
We'll now work on the cheese, tomatoes, and lettuce:
- Create a new layer. Make sure this new layer is below Ink and above Bun Color layers.
- Open Layer Properties dialog box for the new layer and enter Other Color in the text box.
- Select OK to close the window.
- Select Other Color to make it an active layer.
- Using the same concept as the bun, select Color Picker to pick the colors from the reference image to apply to the project for the cheese, tomatoes, and lettuce.
- Select Paintbrush and Eraser to color in the appropriate areas.
- Save your progress and it should look like this:
Patty
For the patty, we want to create a gradient to replicate the grilled side of the patty:
- Create a new layer. Make sure this new layer is below Ink and above Other Color layers.
- Open Layer Properties for the new layer, enter Patty Color, and enter an Opacity value of 90.
- Select OK to close the window.
- Select Patty Color to make it an active layer.
- Using the same concept as earlier, select Color Picker to pick the patty color from the reference image and switch back to the project.
- Right-click the black color in the Palette to set the secondary color and select Gradient.
- Click and hold on the drawing in any area while moving the cursor in different directions to form a gradient. Let go once you're satisfied with the way the color is distributed. Repeat if necessary.
- Select Eraser to erase anything that is outside of the patty. Resize Eraser to get the required size.
- Double-click on Patty Color in the Layers window and enter Opacity value of 100. Select OK to close the window.
- Save your progress and the whole process should look like this:

Shadows and Highlights
This area is optional so you can skip to the next section if you want. Now let's add some dimension by adding shadows and highlights to the burger:
- Create a new layer called Shadows and another called Highlights. Make sure both layers are below Ink and above Patty Color layers.
- Select the corresponding active layer to apply shadows and highlights.
- Select Color Picker to pick the bun color (or cheese, tomatoes, lettuce).
- Double-click the primary color in the Palette and modify the color to a lighter color for Highlights and repeat with the darker color for Shadows. Click OK to close the window.
- Select Paintbrush and Eraser to color in the appropriate areas. Resize the two tools to a smaller size for precision.
- Save your progress.
Adding Texts & Shapes
The tools we'll use for adding texts and shapes are:
- Shapes
- Lines
- Texts
- Eraser
From here, we can start to add these elements against the sketch layer again.
- Create a new layer. Make sure this new layer is below Ink layer.
- Check the box for Sketch in the Layers window to unhide the sketch.
- Select Ellipse and select Line to create a speech bubble over the sketched speech bubble.
- Select Eraser to erase a part of the ellipse that's connected to the lines to complete the speech bubble.
- Select Text and modify the font in the Tools Settings Bar.
- Click inside the speech bubble to create a line of text.
- Text can only be modified before you place it on the drawing so use the History window to track where you want to Undo and Redo your actions.
- Text can be done line by line so you will need to play around with Undo and Redo until you position your text where you want it to be.
- Uncheck the box for Sketch to hide the sketch as we'll no longer need the sketch layer to view.
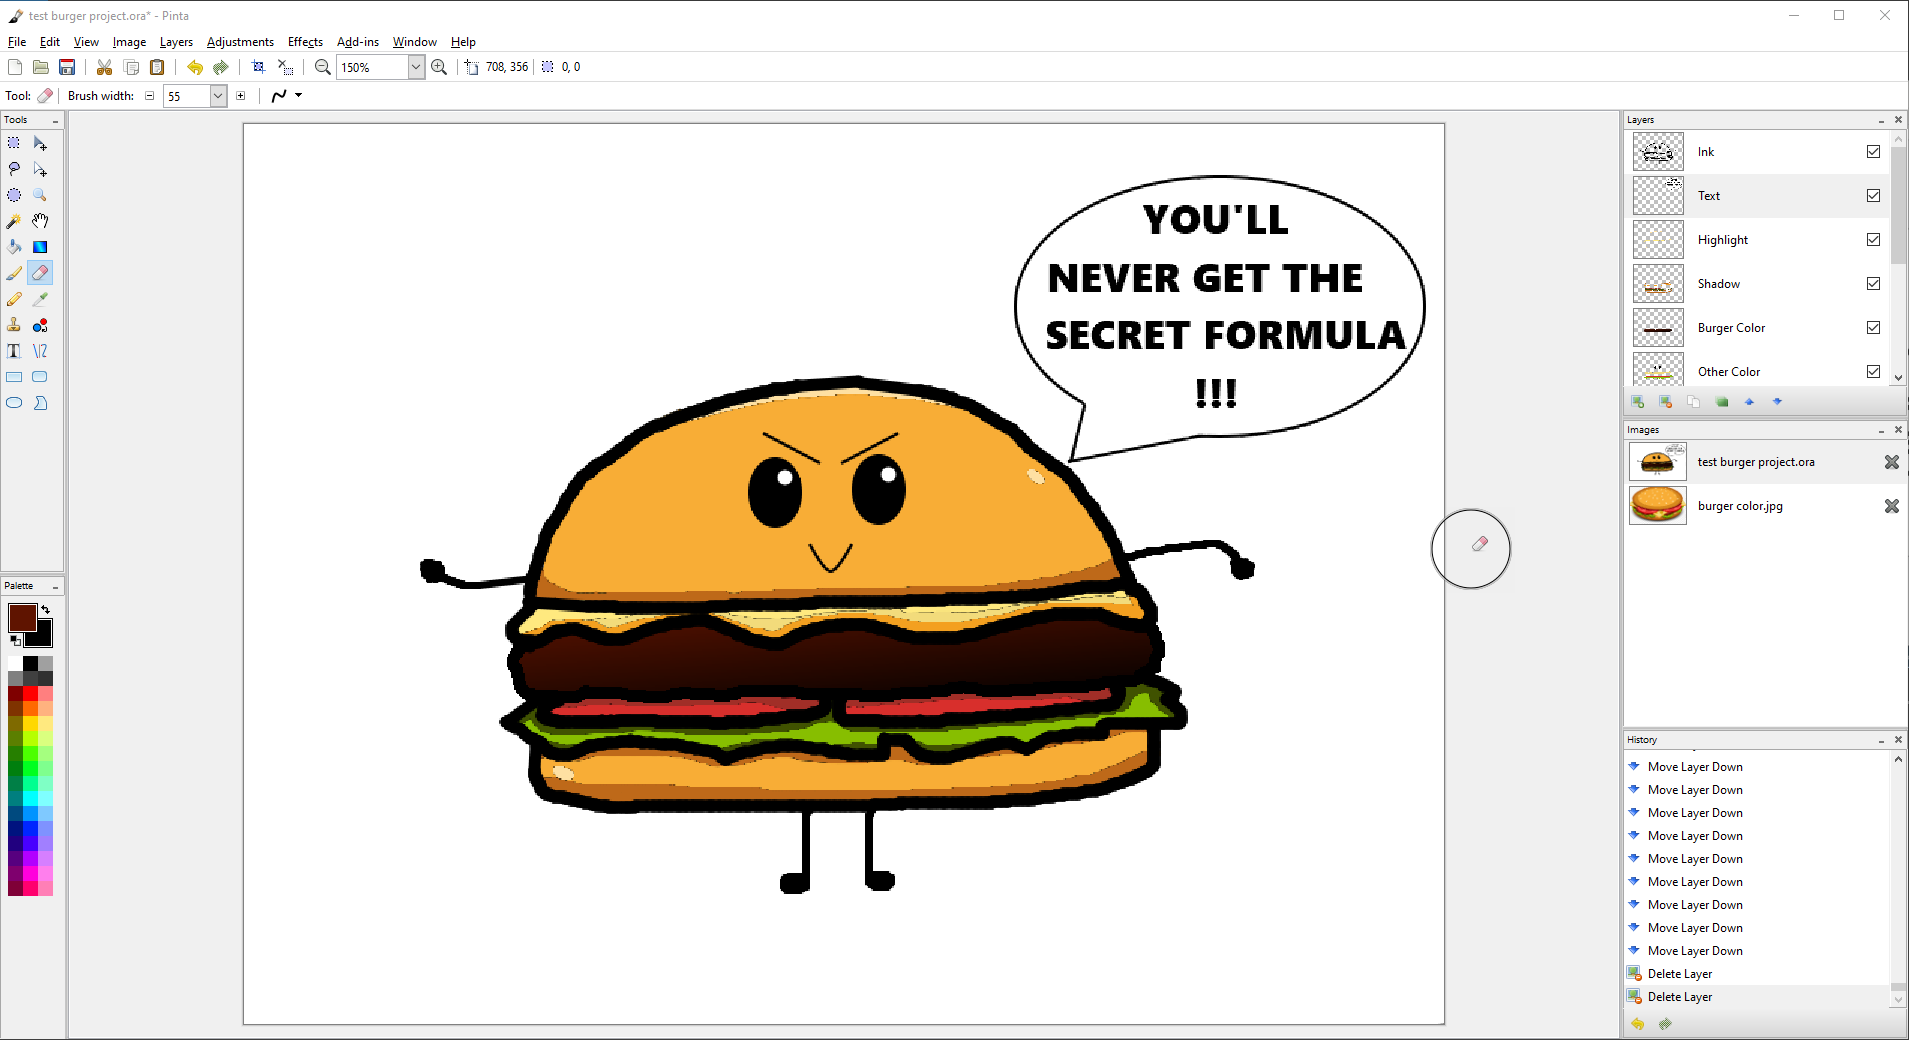
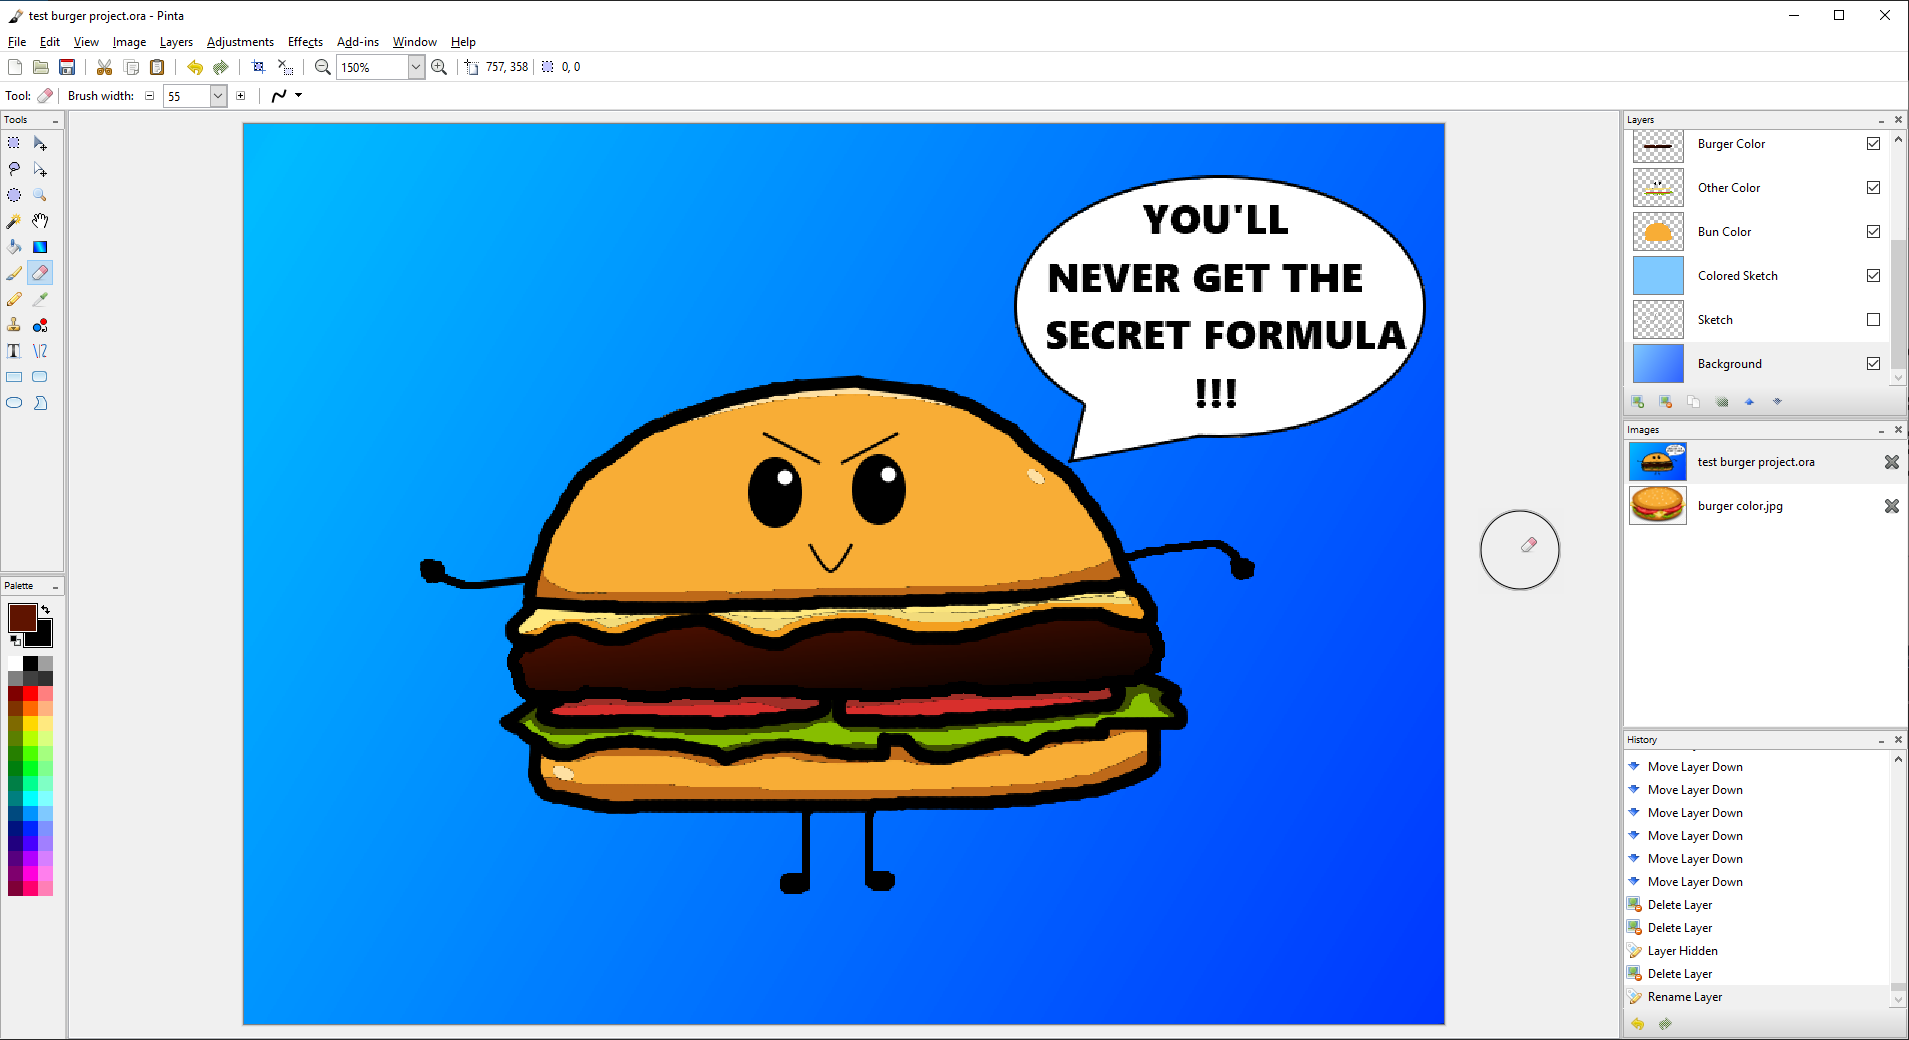
- Save your progress and it should look something like this:
Finished Image
Your little secret burger is now complete! You can change the Background layer to whatever color you want. Just make sure you select it as an active layer before you begin. What we did here was apply a primary blue with secondary light-blue gradient.
You can now Save your image as any image file format besides .ORA and use it externally now.