Crop
You can remove unwanted outer areas from an image by cropping the image. There are two ways with Pinta that you can crop an image:
- Crop to Selection: Use to remove part of the image surrounding the selection. The selected part of the image will expand to the size of the canvas. For irregular-shaped selection, such as those made by the Lasso Select tool, the image is cropped to a rectangular bounding box that contains the selection.
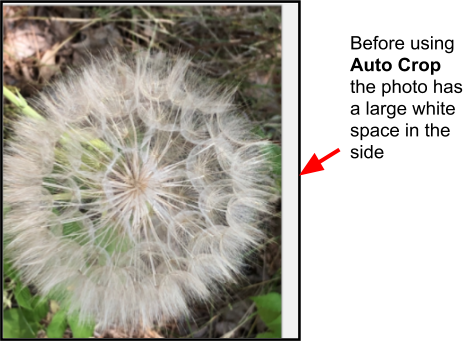
- Auto Crop: Use this feature to remove small border areas from an image. For example, sometimes you may have a photo with a white border that you would like to remove and this feature enables you to remove it.
Crop to Selection
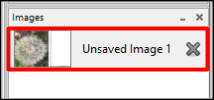
- Select the image you want to crop from the Images window.
- Select part of an image you want to crop using one of the selection tools. The following example uses the rectangle selection to select part of the image:
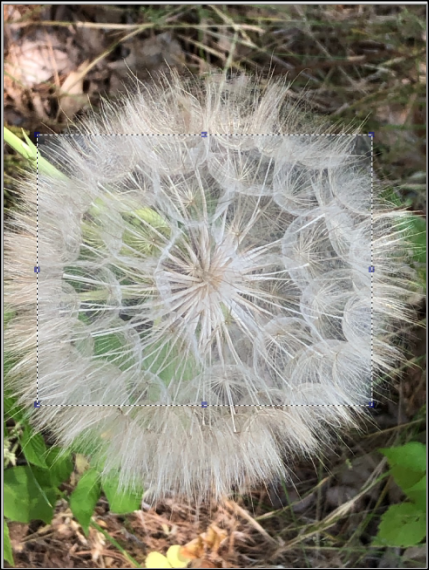
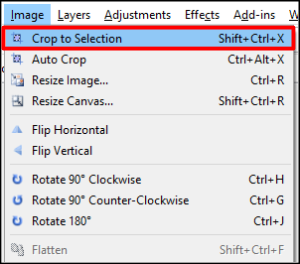
- Go to Image and select Crop to Selection.
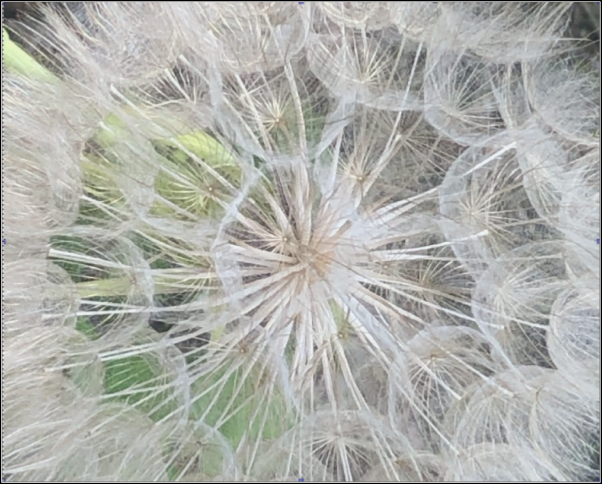
Here's what the example image looks like after selecting Crop to Selection:
Auto Crop
- Select the image you want to auto crop from the Images window, or go to File > Open Image File to open up a new image from a file.
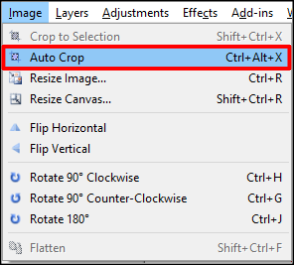
- Go to Image and select Auto Crop.
-
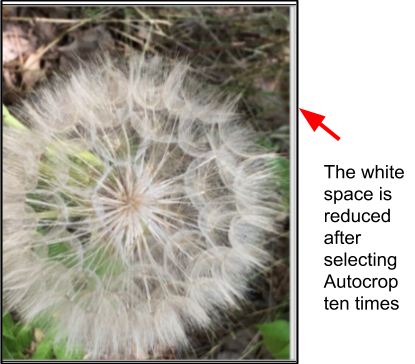
Select Auto Crop from the menu a number of times to reduce the amount of border on your selected image.
Here's an example of an image of how Auto Crop, selected a number of times, has reduced the amount of white space on the right side of the image.