Image Effects
Pinta offers a wide range of effects that can be applied to images or selected areas of an image.
- Glow: use to overlay an illuminating glow as if the image were strongly backlit.
- Sharpen: use to sharpen the image by removing softness.
- Soften Portrait: use to make the portrait lighting appear more diffused.
- Blur: use to make the image appear blurred.
- Distort: use to warp, twist, transform, or convolute an image.
- Artistic Medium: use to make the image appear as if it were painted or sketched.
- Render: use to render clouds or fractals.
- Stylize: use to change the image based on edge detection.
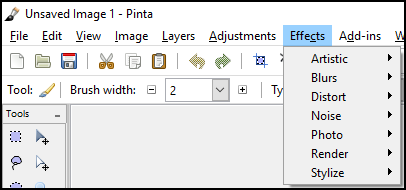
All of the effects can be found in the Effects menu:
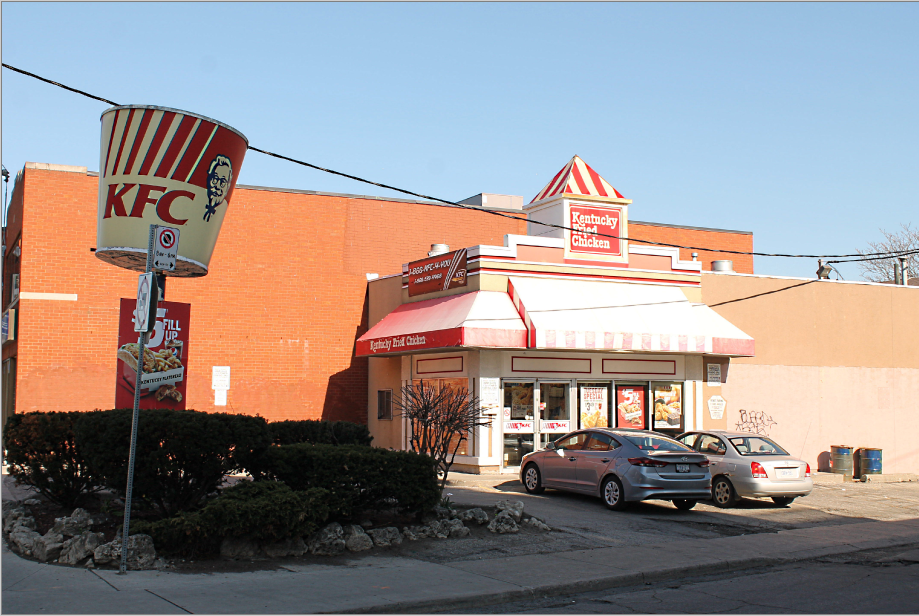
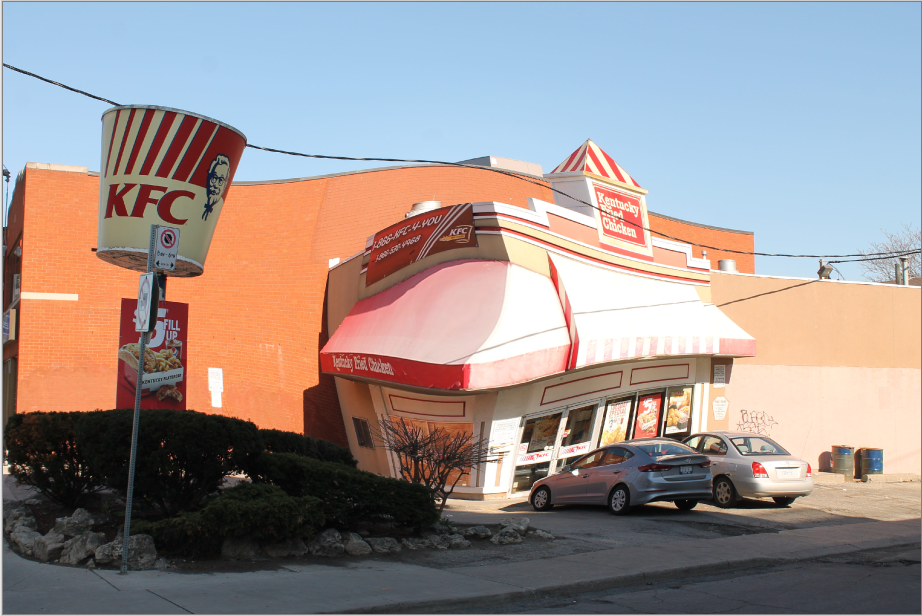
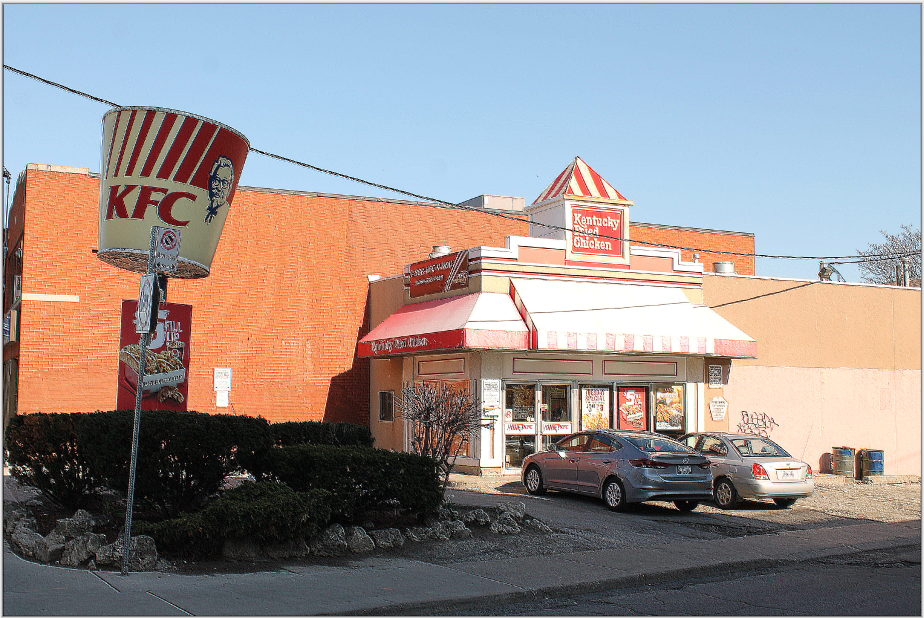
To illustrate all of the effects, we'll be using this photo of KFC.

Glow

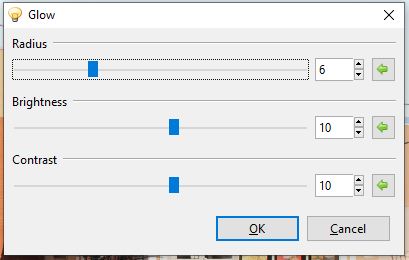
The Glow effect is used to give images an inner glow by brightening lighter tones and muting color saturation, making the image appear as though it were strongly back-lit. A dialog box populates with three sliders, radius, brightness, and contrast.
-
Go to Effects > Photo and select Glow. The Glow dialog box will appear.
-
Adjust the Radius slider to control the strength of the effect. Higher values yield stronger effect results.
- Drag slider to the right to increase effect strength.
- Drag slider to the left to decrease effect strength.
- Adjust the Brightness slider to control the intensity of the illumination. Higher values yield brighter images and lower values yield darker images.
- Drag slider to the right to increase brightness.
- Drag slider to the left to decrease brightness.
- Adjust the Contrast slider to control the color range, making an image appear more vivid or dull. Higher contrast values yield more vibrant tones and lower values yield duller tones.
- Drag slider to the right to increase contrast.
- Drag slider to the left to decrease contrast.
Sharpen:
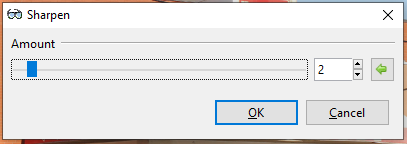
The Sharpen effect is used to reduce softness and emphasize texture in an image to draw in viewer focus. A dialog box populates with a strength slider. The strength slider controls how pronounced the edges in an image appear, increasing the contrast of edges.
-
Go to Effects > Photo and select Sharpen. The Sharpen dialog box will appear.
-
Adjust the Sharpness Amount to control how sharp the image appears.
- Drag slider to the right to increase sharpness.
- Drag slider to the left to decrease sharpness.
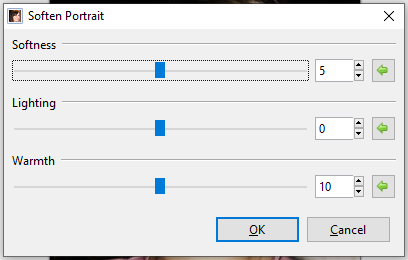
Soften Portrait
The Soften Portrait effect is used to soften images as if the lighting were diffused, adding a subtle glow.
-
Go to Effects > Photo and select Soften Portrait. The Soften Portrait dialog box will appear.
-
Adjust the Softness slider to control the strength of the effect. Higher values yield a softer, more blurred image.
- Drag slider to the right to increase softness.
- Drag slider to the left to decrease softness.
- Adjust the Lighting slider to control the strength of the illumination. Higher values yield stronger lighting and brighter images.
- Drag slider to the right to increase lighting.
- Drag slider to the left to decrease lighting.
- Adjust the Warmth slider to control the color of the lighting. Higher values yield more warmth, making tones appear more golden. Lower values yield more coolness, making tones appear bluer.
- Drag slider to the right to increase warmth.
- Drag slider to the left to decrease warmth.
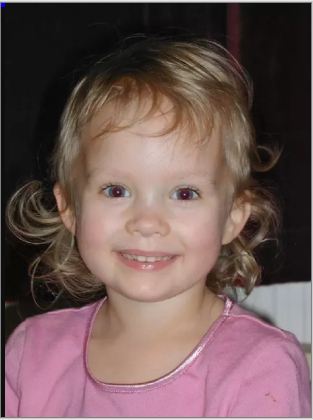
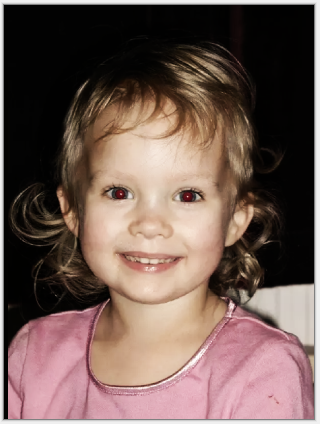
Here's the image before and after using the Soften Portrait effect:
Blur:
There are six Blur effect options: Fragment, Gaussian, Motion, Radial, Unfocus, and Zoom. These can be applied to the whole image or a selected area.
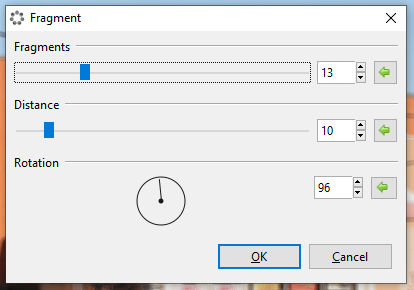
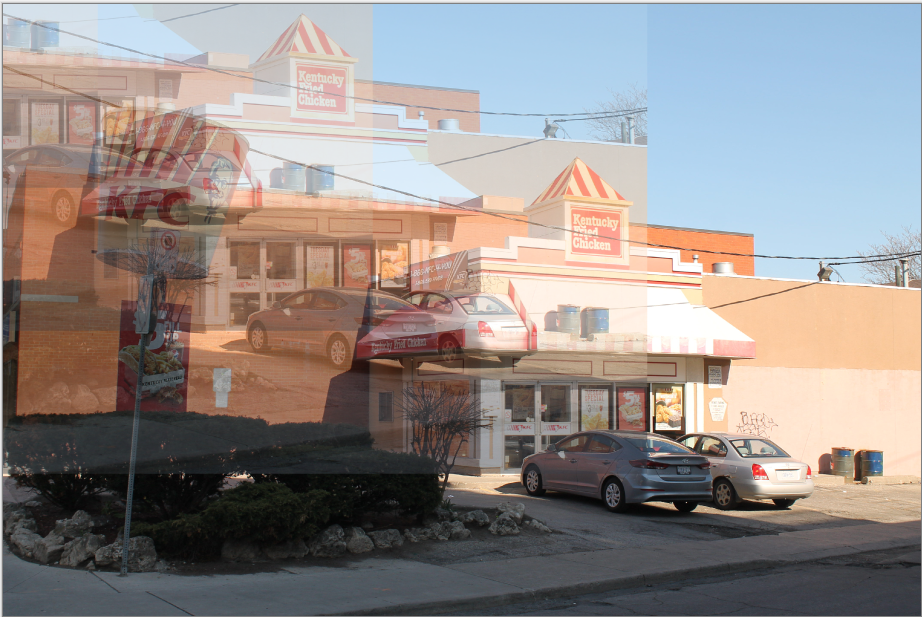
Fragment
The Fragment blur effect superimposes copies or “fragments” of the image or selected area. Copies or "fragments" of the image are superimposed over the original. This blur can be useful when creating an unfocussed multi-viewed version of an image. The effect is not unlike modern interpretations of insect-like vision and could be used to fake "drunken" or "semi-conscious" vision.
-
Go to Effects > Blur and select Fragment. The Fragment dialog box will appear.
-
Adjust the Fragments slider to control how many fragments appear. A higher value yields more fragments.
- Drag slider to the right to increase number of fragments.
- Drag slider to the left to decrease number of fragments.
- Adjust the Distance slider to control how close or far fragments appear from one another. A higher value yields more distance between fragments.
- Drag slider to the right to increase distance.
- Drag slider to the left to decrease distance.
- Adjust the Rotation circle slider to control the angle at which the fragments sit. It can be rotated 360 degrees.
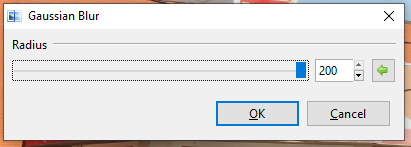
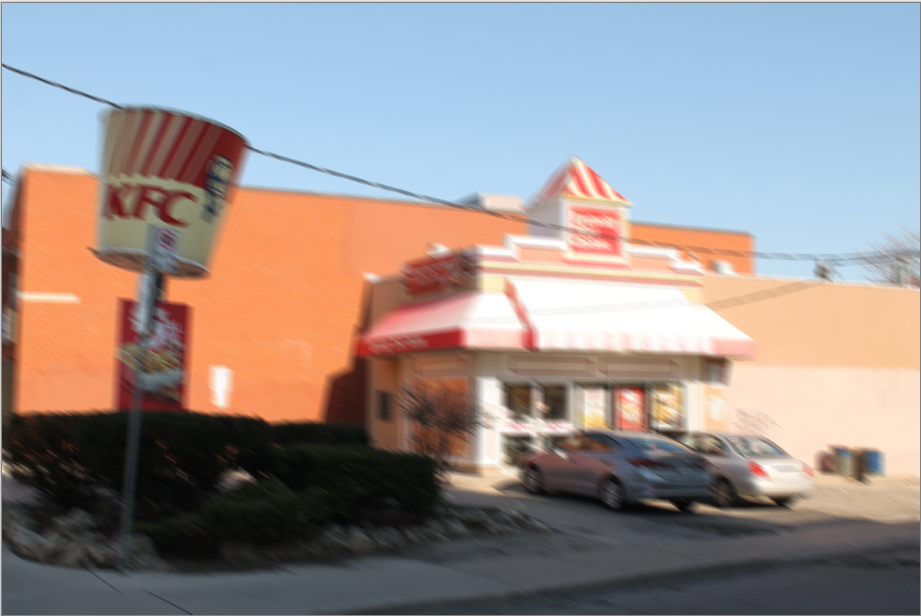
Gaussian

The Gaussian Blur effect applies a defocusing blur to the image or selected area.
-
Go to Effects > Blur and select Gaussian. The Gaussian dialog box will appear.
-
Adjust the Radius slider to control how widely and how strongly the blur is applied. A higher value yields a stronger effect.
- Drag slider to the right to increase blur strength.
- Drag slider to the left to decrease blur strength.
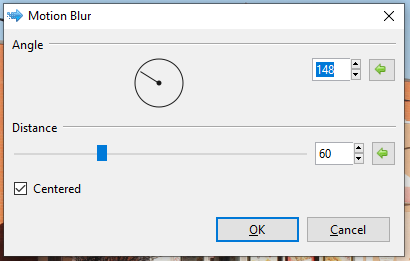
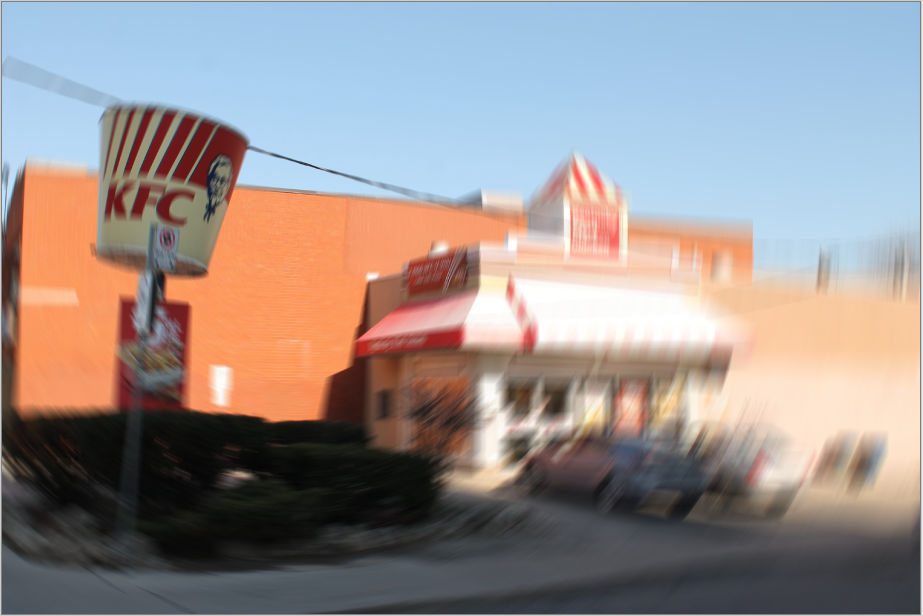
Motion
The Motion Blur effect creates the illusion of motion in an image or selected area. A dialog box populates with two sliders, for angle and distance.
-
Go to Effects > Blur and select Motion. The Motion dialog box will appear.
-
Adjust the Angle circle slider to control the angle at which the motion blur appears. It can be rotated 360 degrees.
-
Adjust the Distance slider to control the width of the blur, how far the effect shifts the original pixels. A higher value yields a wider effect.
- Drag slider to the right to increase motion blur effect.
- Drag slider to the left to decrease motion blur effect.
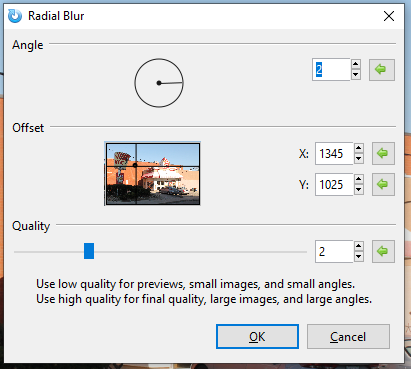
Radial
The Radial Blur effect is like the motion blur, but rather than following a linear path, it follows a circular one.
-
Go to Effects > Blur and select Radial Blur. The Radial Blur dialog box will appear.
-
Adjust the Angle circle slider to control the angle at which the blur appears. It can be rotated 360 degrees.
-
Adjust the Center option box to configure where the effect will be interpreted from, setting the focus or center of the blur.
-
Adjust the Quality slider to define the quality of the blur. A higher value yields higher quality. It is recommended to use low quality for previews, small images, and small angles. High quality should be used for final quality, large images, and large angles.
- Drag slider to the right to increase quality.
- Drag slider to the left to decrease quality.
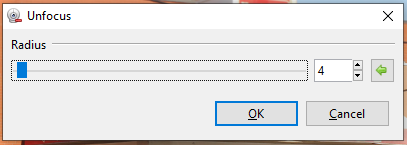
Unfocus
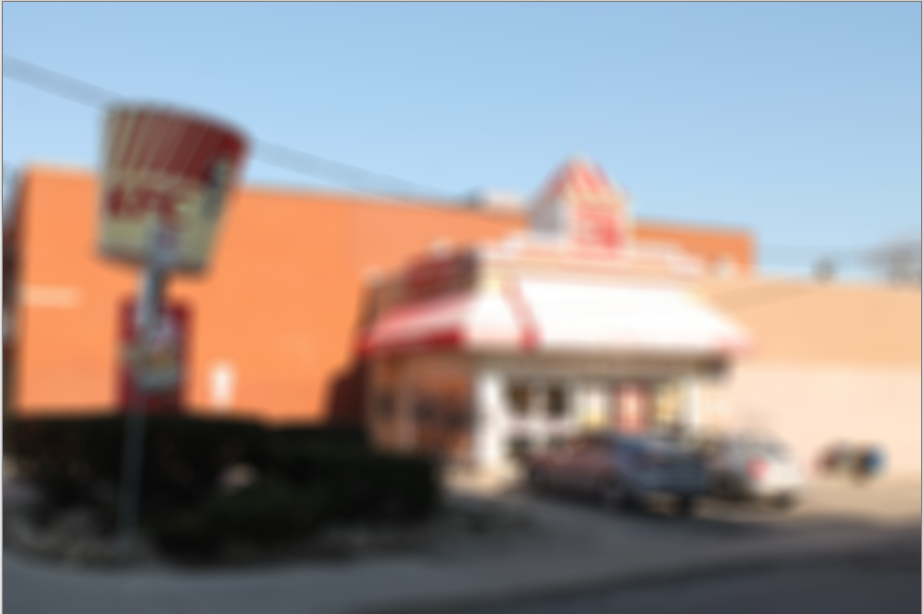
The Unfocus Blur effect is like the Gaussian blur but yields a more dreamy or unfocused look to the image or selected area.
-
Go to Effects > Blur and select Unfocus. The Unfocus dialog box will appear.
-
Adjust the Radius slider to control the strength of the effect. A higher value yields a stronger blur effect.
- Drag slider to the right to increase blur strength.
- Drag slider to the left to decrease blur strength.
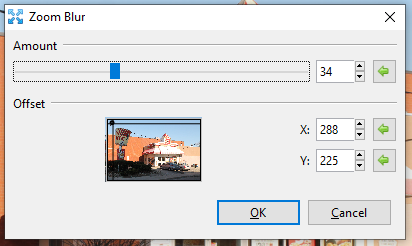
Zoom
The Zoom Blur effect is used to give the appearance of motion towards the focal point of an image, as if the viewer were closing in on the focal point. It's like the Motion blur but applied outwards from a central point.
-
Go to Effects > Blur and select Zoom Blur. The Zoom Blur dialog box will appear.
-
Adjust the Amount slider to control how strong the blur appears. A higher value yields a stronger effect.
- Drag slider to the right to increase blur strength.
- Drag slider to the left to decrease blur strength.
- Adjust the Offset option box to configure where the effect will be interpreted from, setting the focus or center of the blur.
Distort:
There are six Distort options: Bulge, Frosted Glass, Pixelate, Polar Inversion Tile Reflection, and Twist. These can be applied to the whole image or a selected area.
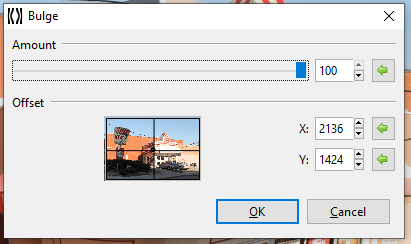
Bulge
The Bulge effect makes the image or selected area swell or shrink, similar to a fisheye or reverse fisheye effect.
-
Go to Effects > Distort and select Bulge. The Bulge dialog box will appear.
-
Adjust the Amount slider to control how strong the swelling or shrinking appears. A higher value yields a stronger effect.
- Drag slider to the right to increase swelling.
- Drag slider to the left to decrease swelling.
- Adjust the Offset option box to configure where the effect will be interpreted from, setting the focus or center of the bulge.
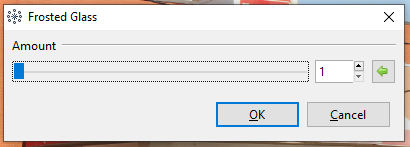
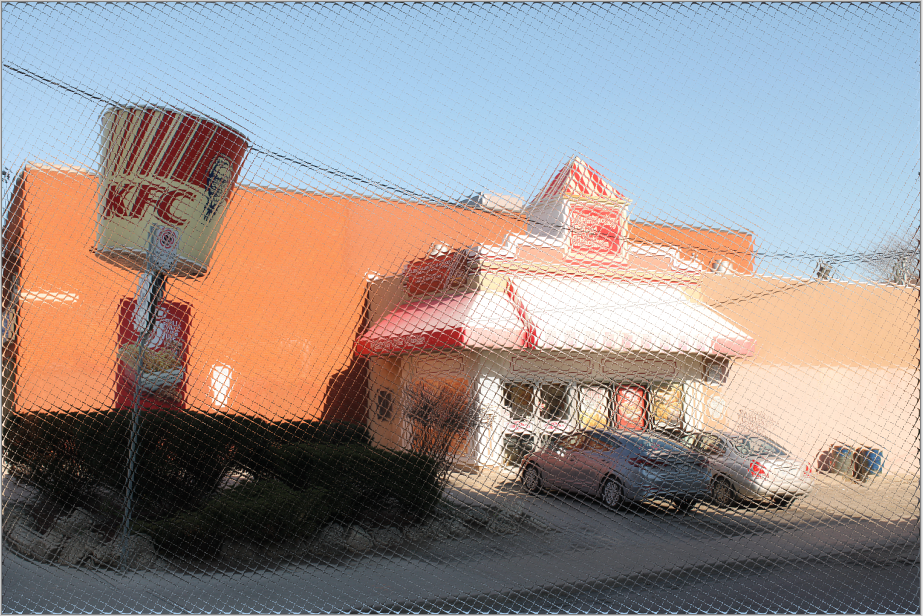
Frosted Glass

The Frosted Glass effect makes the image or selected area look as though it were being viewed through frosted glass.
-
Go to Effects > Distorted and select Frosted Glass. The Frosted Glass dialog box will appear.
-
Adjust the Amount slider to control the harshness and number of displaced pixels, giving off the frosted effect. A higher value yields a more frosted, pixelated look.
- Drag slider to the right to increase frosted appearance.
- Drag slider to the left to decrease frosted appearance.
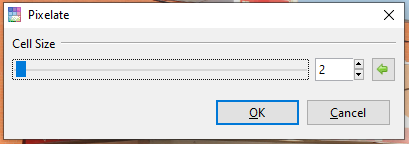
Pixelate
![]()
The Pixelate effect gives the image or selected area a pixelated look, reducing detail by enlarging regularly sampled pixels.
-
Go to Effects > Distorted and select Pixelate. The Pixelate dialog box will appear.
-
Adjust the Cell Size slider to control the size of the pixels. A higher value yields larger pixels, and lower values yield smaller, finer pixels.
- Drag slider to the right to increase pixel size.
- Drag slider to the left to decrease pixel size.
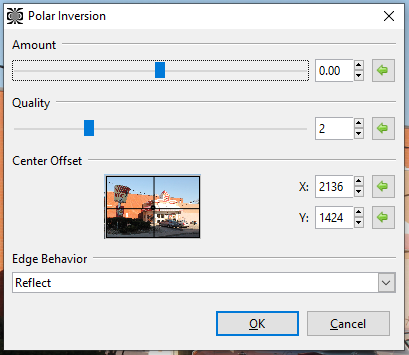
Polar Inversion
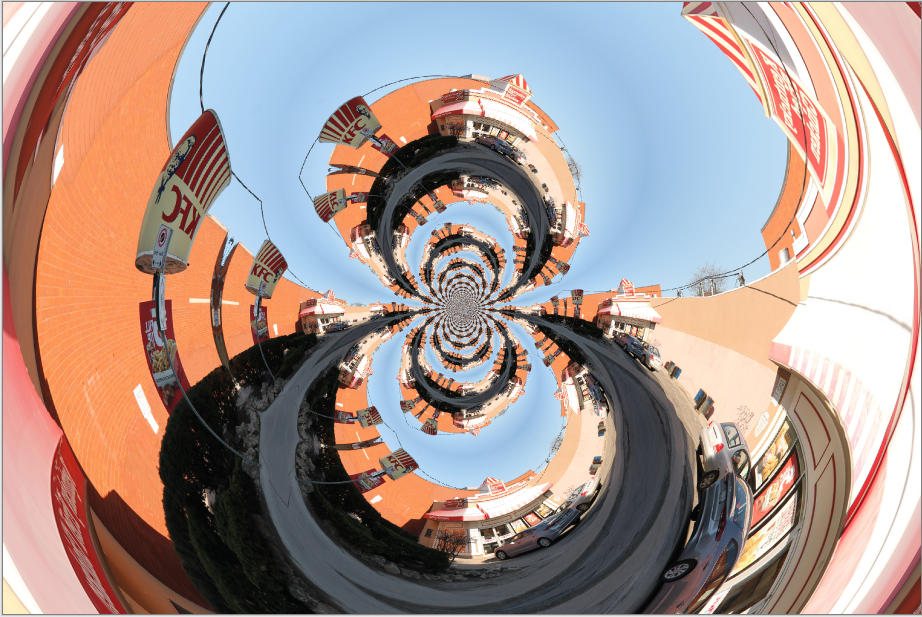
The Polar Inversion effect applies a transformation between Cartesian and Polar coordinate systems, resulting in a positional transformation which recursively wraps the image around itself in an endlessly repeating pattern.
-
Go to Effects > Distorted and select Polar Inversion. The Polar Inversion dialog box will appear.
-
Adjust the Amount slider to control the strength of the effect. A higher value yields a stronger inversion.
- Drag slider to the right to increase strength.
- Drag slider to the left to decrease strength.
- Adjust the Offset option box to configure where the effect will be interpreted from, setting the focus or center of the inversion.
The Edge Behavior drop-down selection defines how the effect behaves as the transformation reaches, then exceeds the edge of the canvas.
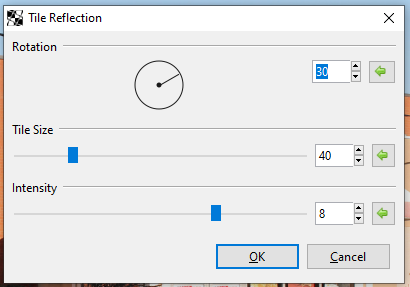
Tile Reflection
The Tile Reflection effect makes the image or selection appear as if it were reflected in a wall of mirrored tiles.
-
Go to Effects > Distorted and select Tile Reflection. The Tile Reflection dialog box will appear.
-
Adjust the Rotation circle slider to control the angle at which the tiles appear. It can be rotated 360 degrees.
-
Adjust the Tile Size slider to control how big or how small the tiles appear: they always remain square. A higher value yields larger tiles.
- Drag slider to the right to increase tile size.
- Drag slider to the left to decrease tile size.
- Adjust Intensity slider to control the curvature of each tile, determining how much of the surrounding are reflected in each tile. A higher value yields curvier tiles, making the image appear more abstracted.
- Drag slider to the right to increase tile curvature.
- Drag slider to the left to decrease tile curvature.
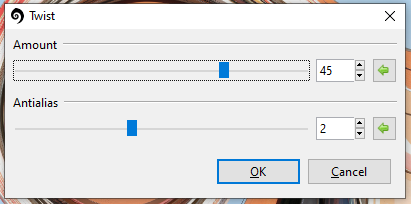
Twist
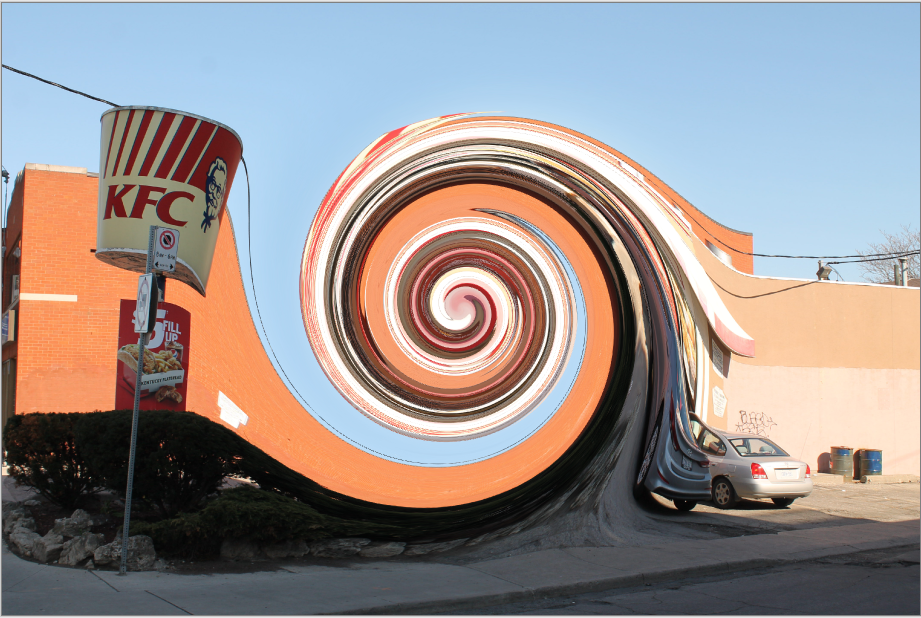
The Twist effect mimics winding the image around the center point of the image.
-
Go to Effects > Distorted and select Twist. The Twist dialog box will appear.
-
Adjust the Amount slider to control the intensity of the twist. Numbers closer to 0 make the effect less intense, with 0 leaving the image unaltered.
-
Adjust the Antialias slider to control the amount of detail. A higher value yields a smoother appearance, while lower values yield a more jagged, pixelated appearance.
- Drag slider to the right to increase smoothness.
- Drag slider to the left to decrease smoothness.
Artistic Medium:
There are 3 Artistic Medium options: Ink Sketch, Oil Painting, and Pencil Sketch, all mimicking traditional artistic mediums.
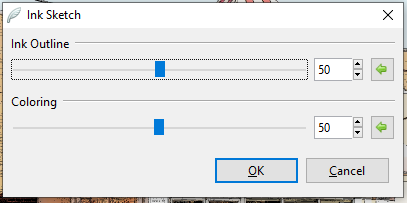
Ink Sketch
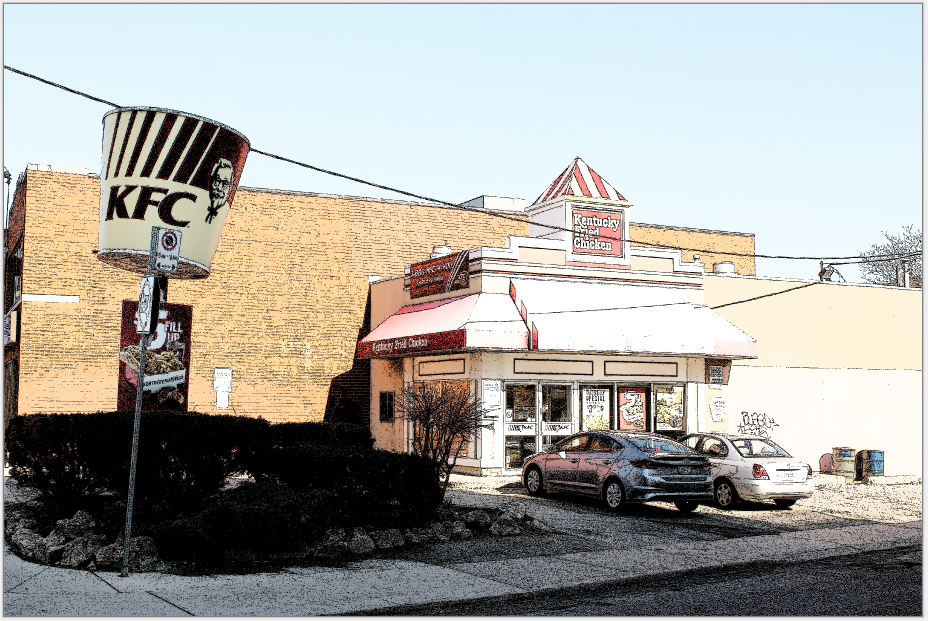
The Ink Sketch effect makes the image appear as if it were drawn using a pen.
-
Go to Effects > Artistic and select Ink Sketch. The Ink Sketch dialog box will appear.
-
Adjust the Ink Outline slider to control the weight of the outline or edging.
- Drag slider to the right to increase outline strength.
- Drag slider to the left to decrease outline strength.
-
Adjust the Coloring slider to control how much of the original image’s color bleeds through, higher values yield higher saturation.
- Drag slider to the right to increase color.
- Drag slider to the left to decrease color.
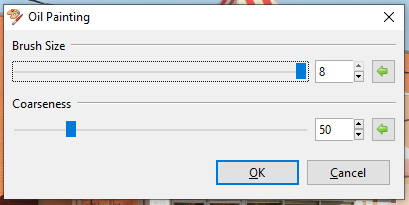
Oil Painting
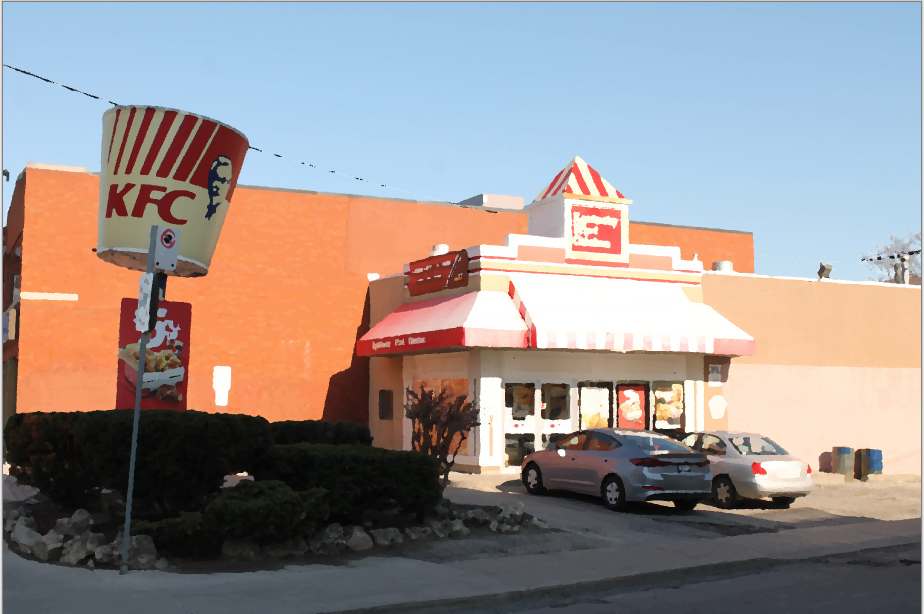
The Oil Painting effect makes the image appear as if it were painted with oil paints.
-
Go to Effects > Artistic and select Oil Painting. The Oil Painting dialog box will appear.
-
Adjust the Brush Size slider to control the size of the paintbrush tip, larger values yield larger strokes and smaller values yield finer strokes.
- Drag slider to the right to increase brush size.
- Drag slider to the left to decrease brush size.
- Adjust the Coarseness slider to control how much detail is captured in the transformation. A larger value yields a more detailed oil painting render and a smaller value yields a less detailed oil painting render.
- Drag slider to the right to increase detail.
- Drag slider to the left to decrease detail.
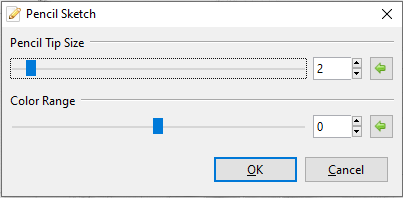
Pencil Sketch
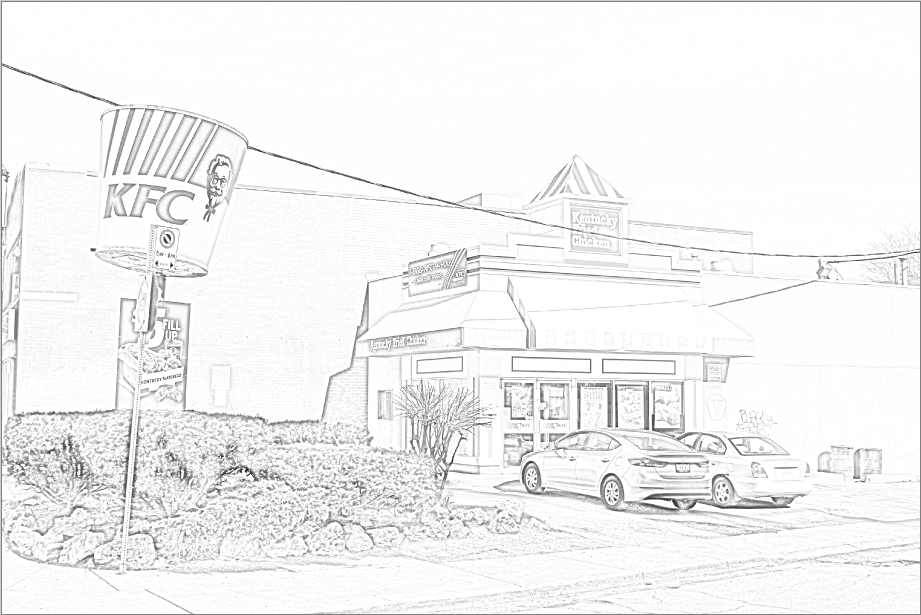
The Pencil Sketch effect makes the image appear as though it were sketched with a pencil.
-
Go to Effects > Artistic and select Pencil. The Pencil dialog box will appear.
-
Adjust the Pencil Tip slider to control the sharpness of the virtual pencil. A larger value yields a blunter tip, making lines thicker and heavier. A smaller value yields a sharper tip, making lines finer, and the image appear lighter.
- Drag slider to the right to increase line thickness.
- Drag slider to the left to decrease line thickness.
The Color Range slider has no effect on the image as it’s generated in greyscale. This slider is arbitrary and can be ignored.
Render:
There are 3 Render options: Clouds, Julia Fractal, and Mandelbrot Fractal, these three effects create completely new renderings, replacing all color information in the active layer or selection.
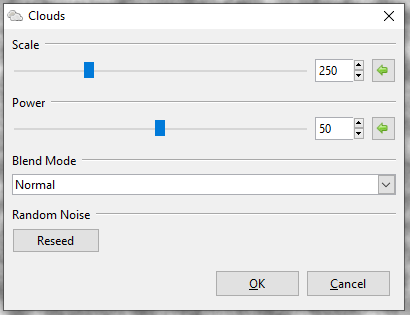
Clouds

The Clouds effect renders a randomized cloud pattern to the layer or desired selection.
-
Go to Effects > Render and select Clouds. The Cloud dialog box will appear.
-
Adjust the Scale slider to control the size of clouds. Higher values yield larger clouds and lower values yield finer clouds.
- Drag slider to the right to increase cloud size.
- Drag slider to the left to decrease cloud size.
- Adjust the Power slider to control how coarse or how fluffy the clouds appear, dealing with their texture. Higher values yield coarser, more detailed clouds and lower values yield softer, more blurred clouds.
- Drag slider to the right to increase cloud texture.
- Drag slider to the left to decrease cloud texture.
- Select a Blend Mode from the drop-down menu to configure how the rendered clouds will be blended with the original image or layer.
See a full list of blend modes and their deciprtions in the Edit Layer Properties page.
-
The Reseed button randomizes the cloud pattern.
-
The Coloring of the rendered clouds depends on the two colors selected in the color palette. To render clouds as a single color, lower the secondary color’s opacity to 0 in the color selection menu.
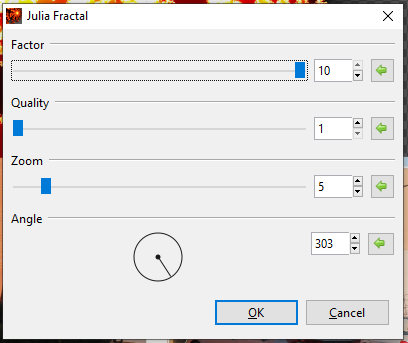
Julia Fractal
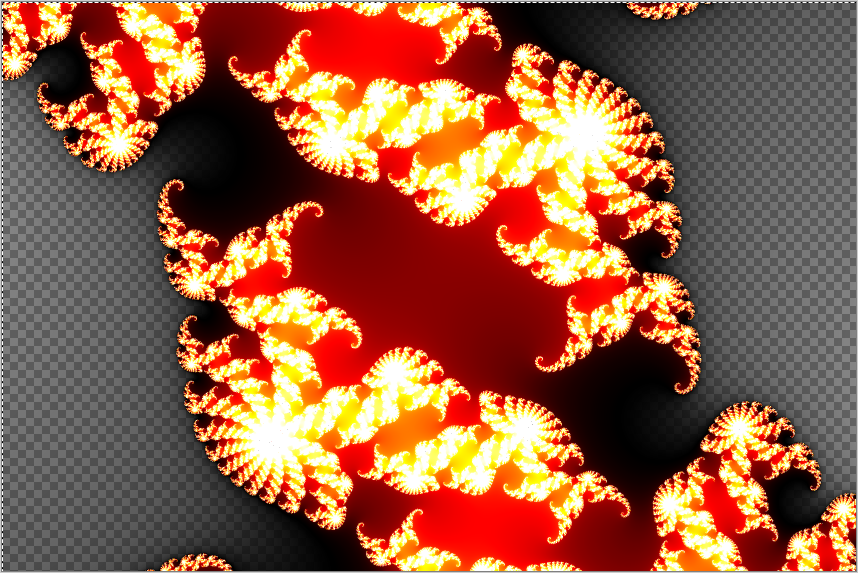
The Julia Fractal effect renders a Julia Fractal on the layer or desired selection.
-
Go to Effects > Render and select Julia Fractal. The Julia Fractal dialog box will appear.
-
Adjust the Factor slider to control the color saturation. Higher values yield more vivid colors and lower values yield duller colors, with 1 rendering a greyscale fractal.
- Drag slider to the right to increase saturation.
- Drag slider to the left to decrease saturation.
- Adjust the Quality slider to control the amount of detail in the fractal. Higher values yield a smoother, more detailed fractal and lower values yield a more jagged, “pixelated” fractal.
- Drag slider to the right to increase fractal detail.
- Drag slider to the left to decrease fractal detail.
- Adjust the Zoom slider to control the scale, allowing you to zoom in or out.
- Drag slider to the right to zoom in.
- Drag slider to the left to zoom out.
- Adjust the Angle circle slider to control the angle at which the fractal sits. It can be rotated 360 degrees.
Mandelbrot Fractal
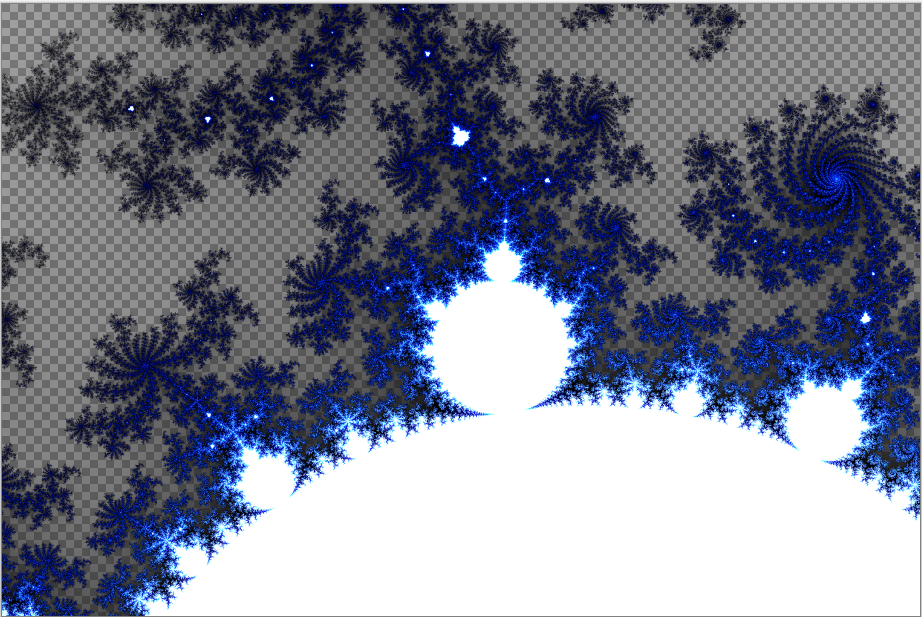
The Mandelbrot Fractal effect renders a Mandelbrot Fractal on the layer or desired selection.
- Go to Effects > Render and select Mandelbrot Fractal. The Mandelbrot Fractal dialog box will appear.
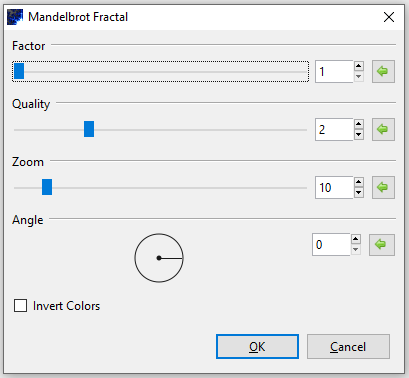
- The colors of this fractal are not configurable but can be inverted. Checking the ☑ Invert Colors checkbox has the same effect as applying Adjustments > Invert Colors.
- The colors of this fractal are not configurable but can be inverted. Checking the ☑ Invert Colors checkbox has the same effect as applying Adjustments > Invert Colors.
- Adjust the Factor slider to control the color saturation. Higher values yield more vivid colors and lower values yield duller colors, with 1 rendering a greyscale fractal.
- Drag slider to the right to increase saturation.
- Drag slider to the left to decrease saturation.
- Adjust the Quality slider to control the amount of detail in the fractal. Higher values yield a smoother, more detailed fractal and lower values yield a more jagged, “pixelated” fractal.
- Drag slider to the right to increase fractal detail.
- Drag slider to the left to decrease fractal detail.
- Adjust the Zoom slider to control the scale, allowing you to zoom in or out.
- Drag slider to the right to zoom in.
- Drag slider to the left to zoom out.
- Adjust the Angle circle slider to control the angle at which the fractal sits. It can be rotated 360 degrees.
Stylize:
The Stylize menu is made up of four options: Edge Detect, Emboss, Outline, and Relief to change the image or selected area based on edge detection.
Edge Detect
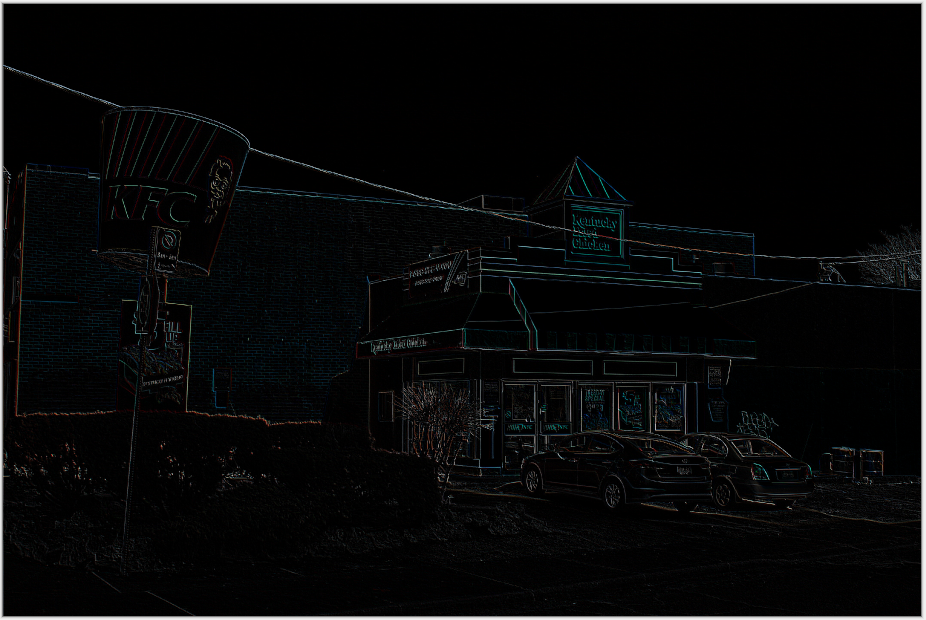
The Edge Detect effect highlights the edges of an image or selected area, creating an almost embossed effect.
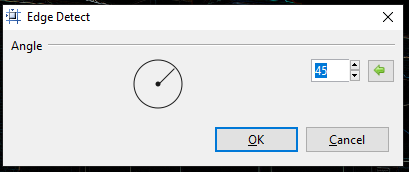
-
Go to Effects > Stylize and select Edge Detect. The Edge Detect dialog box will appear.
-
Adjust the Angle circle slider to control the angle at which the edges appear, controlling the direction of the light source. It can be rotated 360 degrees.
Emboss
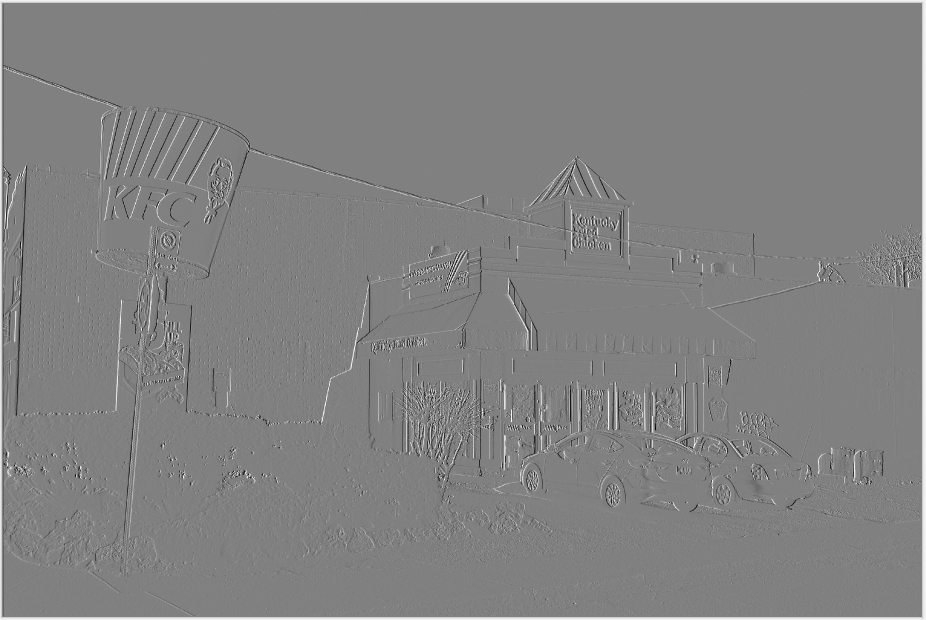
The Emboss effect is similar to the edge effect. It generates a black and white rendering of the image where the edges have been given a 3D highlight as though they were physically embossed.
-
Go to Effects > Stylize and select Emboss. The Emboss dialog box will appear.
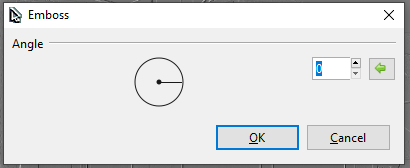
-
Adjust the Angle circle slider to control the angle at which the edges appear, controlling the direction of the light source. It can be rotated 360 degrees.
Outline
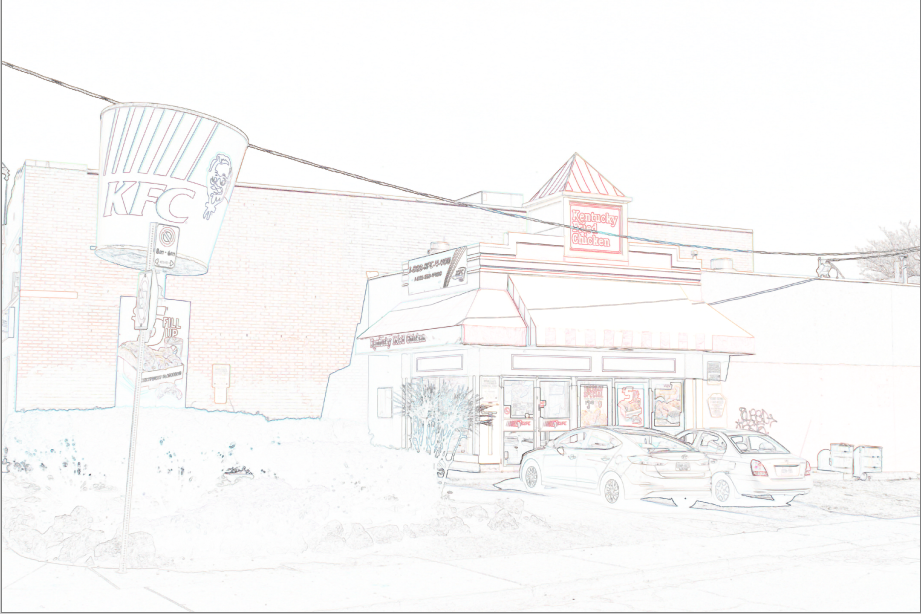
The Outline effect enhances edges found in an image by tracing around them with an outline of requested radius.
-
Go to Effects > Stylize and select Outline. The Outline dialog box will appear.
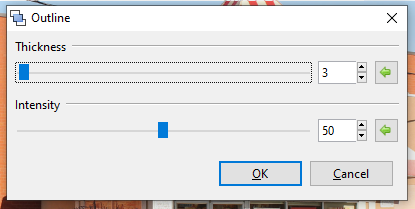
-
Adjust the Thickness slider to control how thick the outline appears. Higher values yield thicker outlines and lower values yield finer outline.
- Drag slider to the right to increase thickness.
- Drag slider to the left to decrease thickness.
- Adjust the Intensity slider to control the strength of the effect or the number of pixels that the effect is applied to. Higher values yield a stronger effect.
- Drag slider to the right to increase intensity.
- Drag slider to the left to decrease intensity.
Relief
The Relief effect is similar to the edge detect effect but instead, it blends the raised edges back into the original image, giving it a full colored embossed look. A dialog box populates with a circle slider for the angle.
-
Go to Effects > Stylize and select Relief. The Relief dialog box will appear.

-
Adjust the Angle circle slider to control the angle at which the edges appear, controlling the direction of the light source. It can be rotated 360 degrees.